Last updated: April 2026
Once you’ve spent time creating your VRoid avatar, the last thing you want is to lose your progress. In this guide, you’ll learn how to save your VRoid project and keep it backed up safely.
How to Save Your VRoid Project
VRoid Studio lets you save your work at any time using the main menu. There is no auto-save, so saving manually and often is important.
Step 1: Open the Menu
Click the hamburger menu (≡) in the top-left corner of the screen.
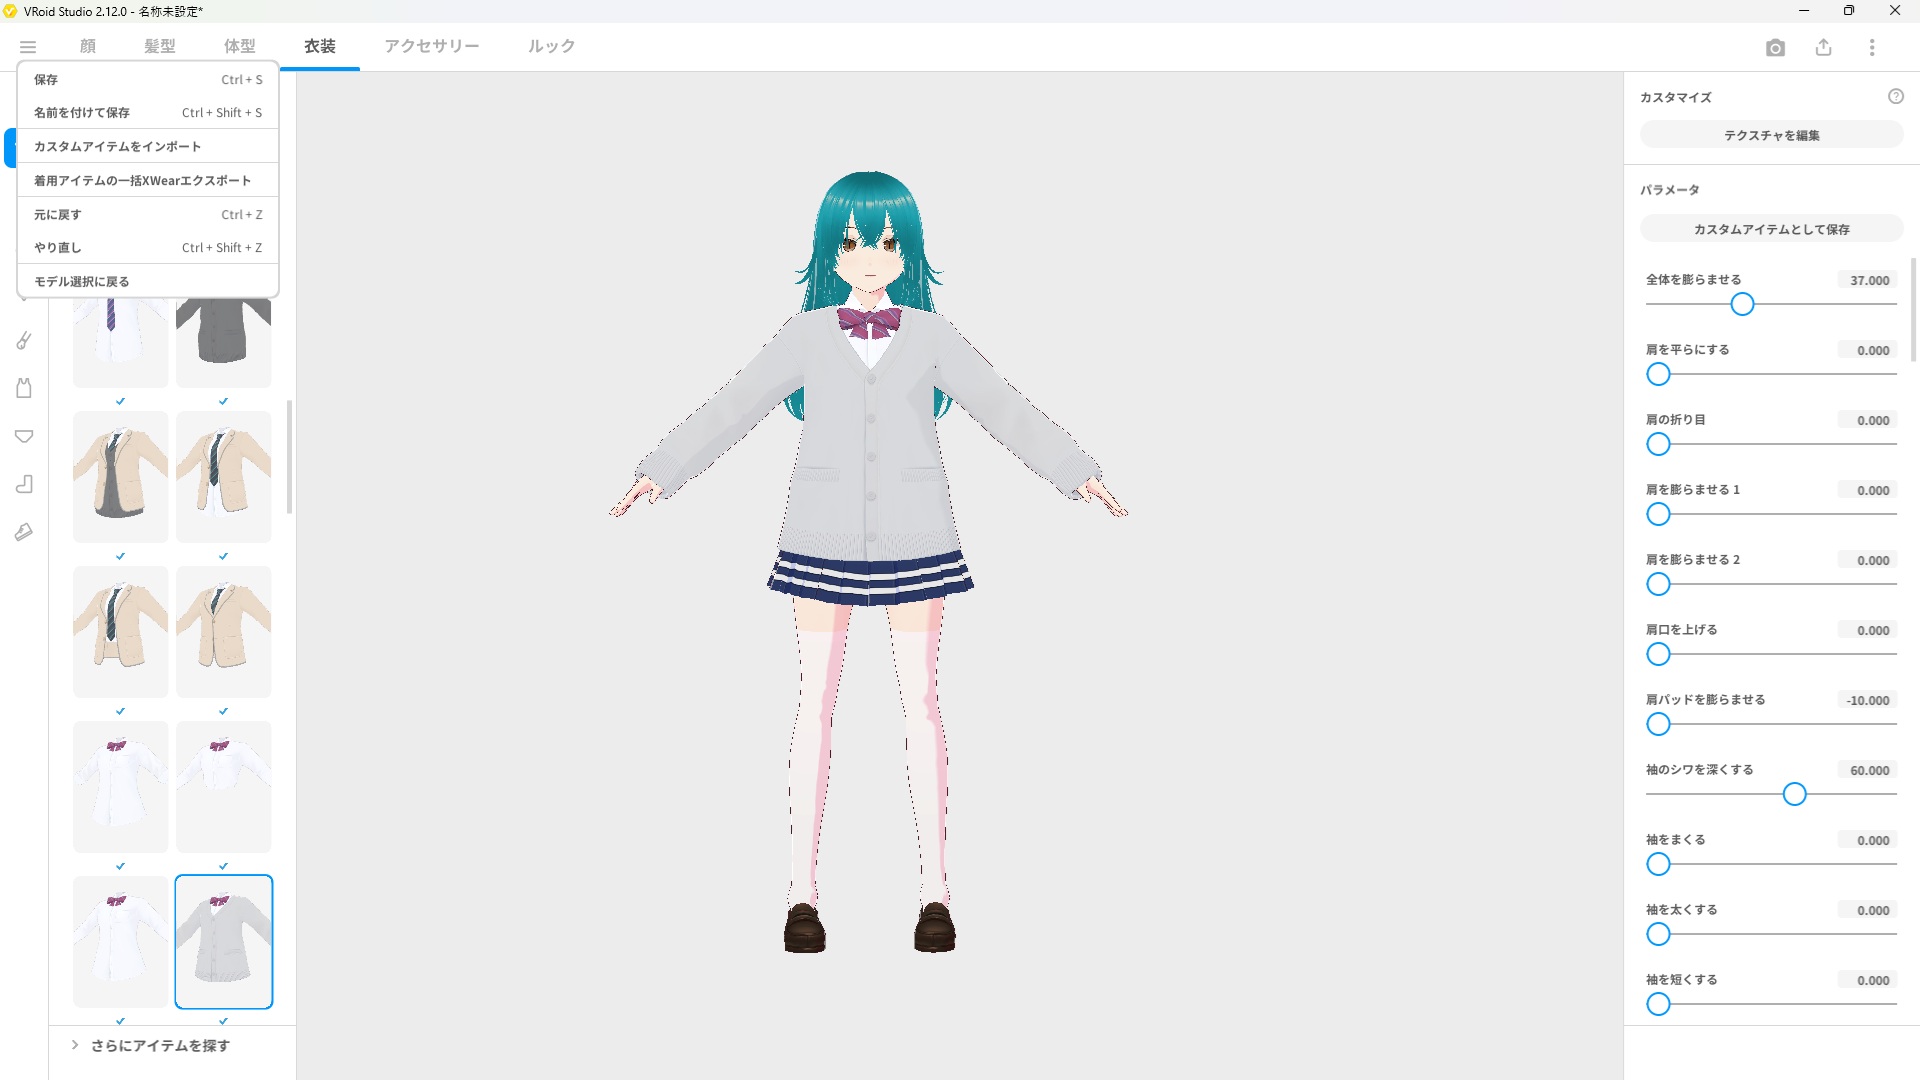
You’ll see two save options:
| Option | What It Does |
|---|---|
| Save | Overwrites the current file. Quick and simple. |
| Save As | Saves a new copy with a different name or location. |
Step 2: Save Your Project
Click Save to save your progress. If it’s your first time saving, VRoid Studio will ask you to choose a file name and location. Your project is saved as a .vroid file.
Default Save Location
By default, VRoid Studio saves your projects to the following folder:
- Windows:
C:\Users\[Your Username]\Documents\VRoid\ - Mac:
/Users/[Your Username]/Documents/VRoid/
You can change this location at any time by using Save As and selecting a different folder.
How to Check Your Saved Project
After saving, return to the VRoid Studio home screen. Your saved model will appear under Recent, so you can quickly pick up where you left off.
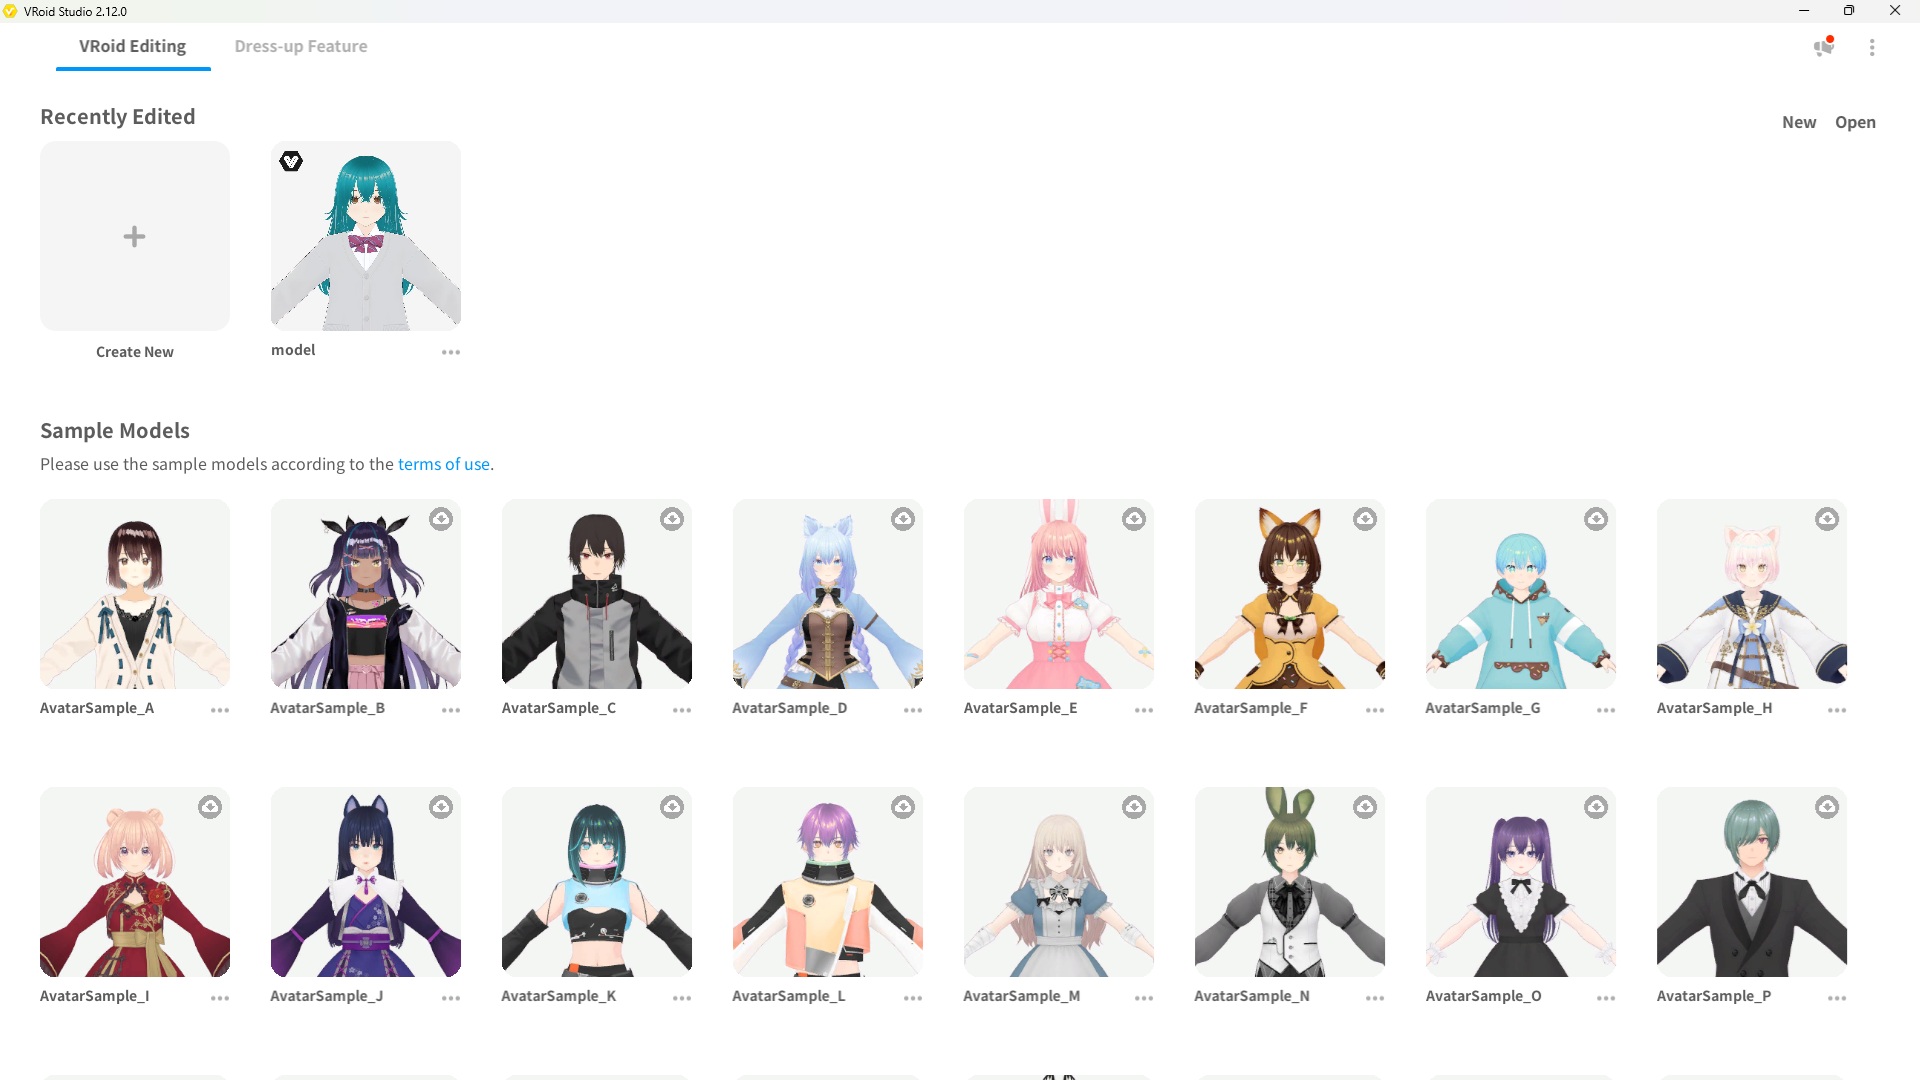
Tip: If you don’t see your model under Recent, try reopening VRoid Studio. The list updates on launch.
How to Backup Your VRoid Project
Saving inside VRoid Studio is great for daily use, but keeping an external backup is just as important. Here are the best options:
Option 1: Copy to an External Drive
Plug in a USB drive or external hard drive and copy your .vroid file to it. This protects you if your computer’s internal storage fails.
Option 2: Upload to Cloud Storage
Upload your .vroid file to a cloud service such as Google Drive, Dropbox, or OneDrive. Your project stays safe even if your computer is lost or damaged.
Option 3: Use Save As to Keep Version History
Use Save As to save new versions with dates in the file name, for example:
MyAvatar_2026-04-01.vroidMyAvatar_2026-04-08.vroid
This gives you a history of your work and lets you roll back to an earlier version if needed.
Frequently Asked Questions
Does VRoid Studio have auto-save?
No. VRoid Studio does not have an auto-save feature. You need to save manually using the menu. Make it a habit to save after every significant change.
What file format does VRoid Studio use?
VRoid Studio saves projects as .vroid files. These can only be opened in VRoid Studio. If you want to use your avatar in other apps like VRChat, you’ll need to export it as a .vrm file separately.
How large are .vroid files?
A typical .vroid file is between 50 MB and 200 MB depending on complexity. If you plan to create many models, having at least 10 GB of free storage is recommended.
Can I open my .vroid file on another computer?
Yes. Simply copy the .vroid file to the other computer and open it with VRoid Studio. All your model data is stored inside the single file.
What’s Next?
Now that your project is saved and backed up, here are some good next steps:
- [How to Export Your VRoid Avatar as VRM] — Get your model ready for VRChat and other platforms
- [How to Create Your First Avatar in 30 Minutes] — Jump straight into creating if you haven’t already
Final Thoughts
Saving in VRoid Studio is straightforward — open the menu and hit Save. The most important habit to build is saving regularly, since there’s no auto-save to fall back on. Combine that with a simple cloud backup, and your avatar will always be safe.