Last updated: April 2026
If you want to create your own 3D avatar for VTubing, VRChat, or just for fun, VRoid Studio is one of the best free tools available. In this guide, I’ll walk you through exactly how to download and install VRoid Studio on Windows — step by step, with real screenshots.
What Is VRoid Studio?
VRoid Studio is a free 3D avatar creation software developed by pixiv. It lets you design anime-style characters without any prior 3D modeling experience. You can use your finished avatar in VRChat, as a VTuber model, or export it to other 3D software like Blender.
Key facts:
- 100% free to download and use
- Available on Windows, macOS, and iPad
- No account required to get started
- Regular updates with new features
System Requirements (Windows)
Before downloading, make sure your PC meets the minimum requirements:
| Minimum | Recommended | |
|---|---|---|
| OS | Windows 10 (64-bit) | Windows 11 |
| CPU | Intel Core i5 or equivalent | Intel Core i7 or equivalent |
| RAM | 8 GB | 16 GB |
| GPU | NVIDIA GeForce GTX 1050 | NVIDIA GeForce GTX 1660 or better |
| Storage | 2 GB free space | 4 GB free space |
💡 Not sure what these specs mean or whether your PC can handle VRoid Studio? Check out our detailed System Requirements Guide — we break down exactly what each spec means and share tips for running VRoid on lower-end PCs.
Note: VRoid Studio requires a dedicated GPU. It may run slowly or fail to launch on PCs with integrated graphics only.
Step 1: Go to the Official Website and Download the Installer
Open your browser and go to:
Important: Always download from the official site. Avoid third-party download sites, as they may offer outdated or unsafe versions.
You will see download buttons for Windows, macOS, Steam, and iPad. Click the “Windows” button to download the installer.
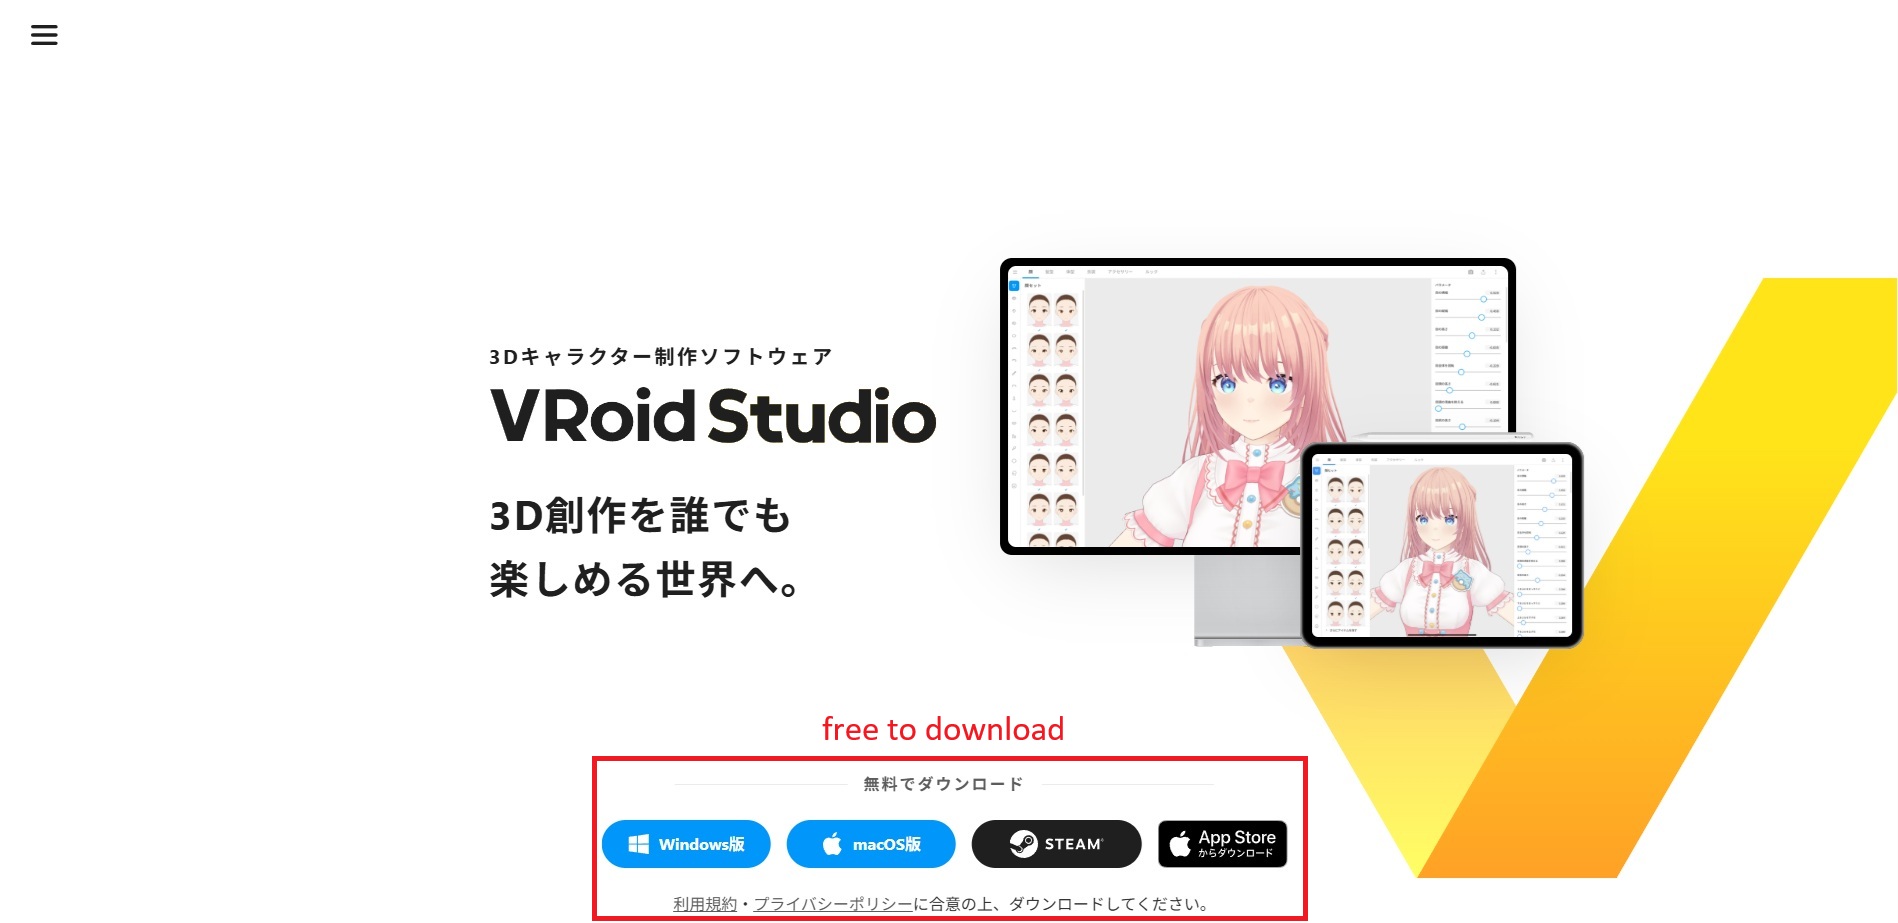
The official download page. Click the Windows button (top left of the four options).
The file you download will be an installer (.exe file). The download size is approximately 500 MB to 1 GB, so it may take a few minutes depending on your internet speed.
Step 2: Run the Installer
Once the download is complete, locate the installer file in your Downloads folder and double-click it to run it.
If Windows shows a security warning (“Windows protected your PC”), click “More info” and then “Run anyway”. This is normal for software downloaded from the internet.
The installer will handle everything automatically. You don’t need to change any settings. Click “Install” and wait for the process to finish — it usually takes less than 2 minutes.
Step 3: Launch VRoid Studio for the First Time
Find the VRoid Studio shortcut on your desktop or in your Start menu and double-click it to launch.
The first screen you will see looks like this:
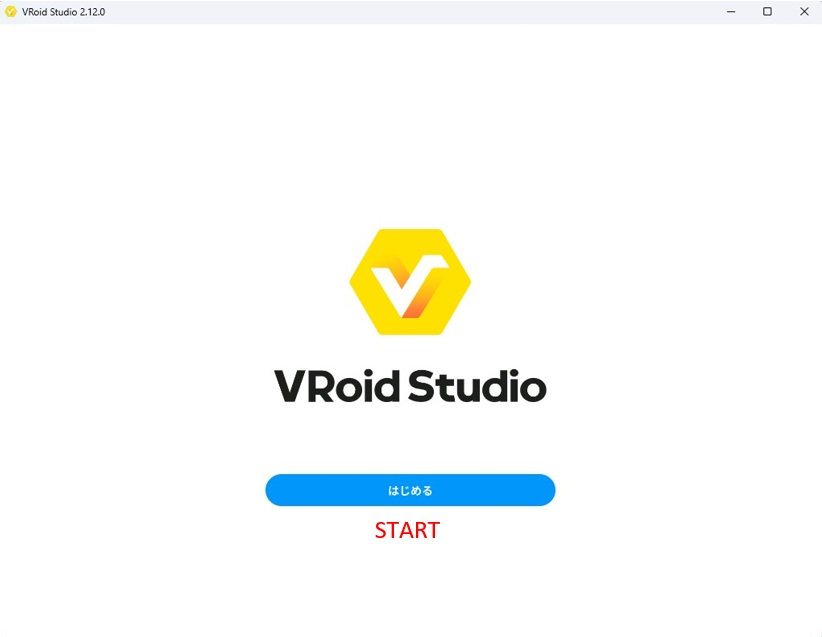
The first screen after launching. Click “START” to continue.
Tip: The first launch may take 30–60 seconds longer than usual. This is normal — the software is loading assets for the first time.
Step 4: Agree to the Terms of Service
After clicking START, a dialog box will appear asking you to agree to VRoid Studio’s Terms of Service, Privacy Policy, and Guidelines before you can use the software.
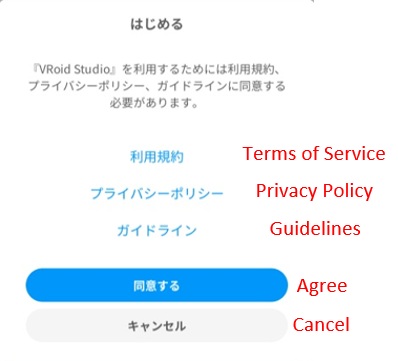
Read the Terms of Service, Privacy Policy, and Guidelines, then click “Agree” to continue.
Click the links to read each document if you wish, then click “Agree” to proceed. Clicking “Cancel” will close the software.
Step 5: Welcome Screen — Skip or Read the Tutorial
After agreeing, a welcome screen will appear. It offers a link to the official beginner’s guide on VRoid’s help page.
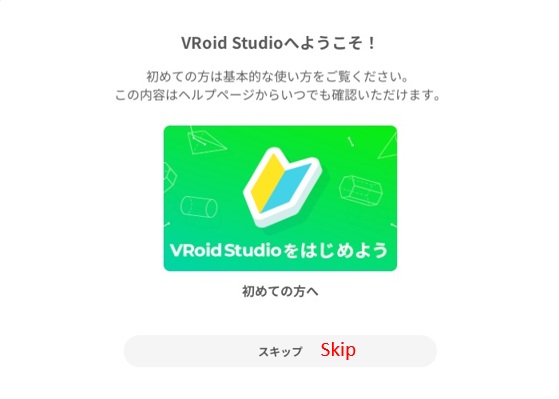
You can click the banner to read the official tutorial, or click “Skip” to go straight to the main screen.
If you are a complete beginner, it’s worth clicking the banner to read the official guide. If you want to dive straight in, click “Skip”.
Step 6: You’re In — The Main Screen
After the welcome screen, you’ll reach the VRoid Studio home screen. This is where you’ll create and manage your avatars.
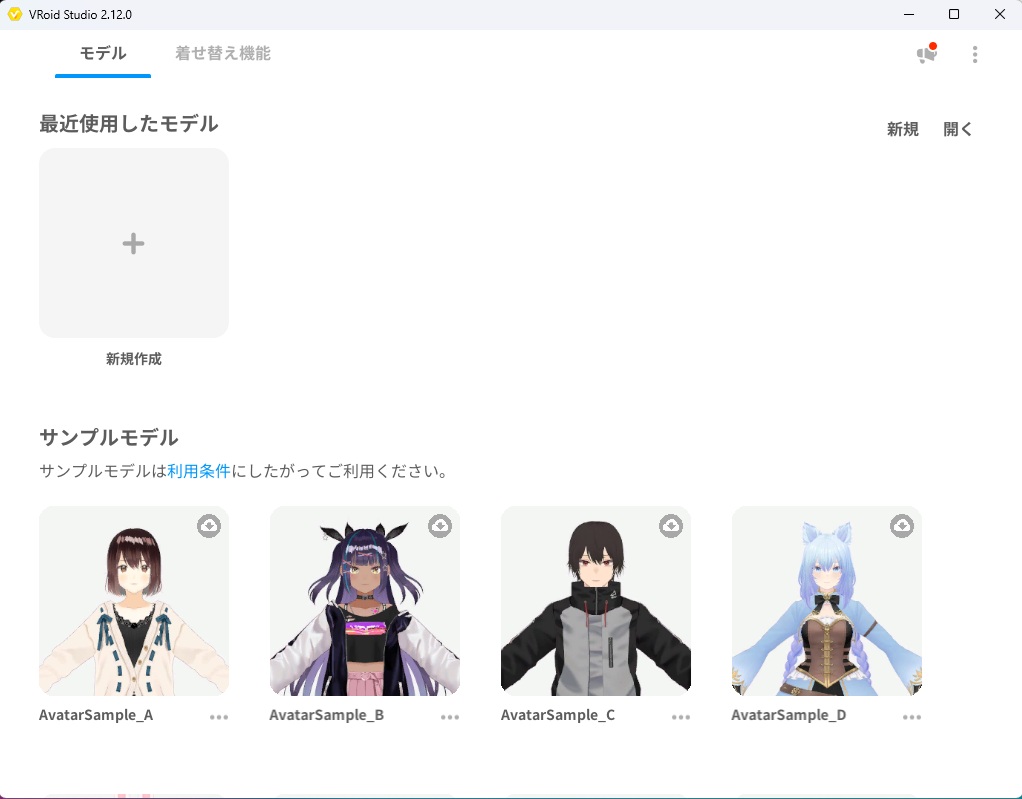
The main screen. Click the “+” tile to create a new model, or open one of the sample avatars to explore.
You’ll notice four sample avatars already available — feel free to open one to get a feel for the software before starting your own.
Troubleshooting: Common Installation Issues
VRoid Studio won’t launch after installation
- Make sure your GPU drivers are up to date. Visit your GPU manufacturer’s website (NVIDIA or AMD) and install the latest drivers.
- Check that your PC meets the minimum system requirements listed above.
The installer shows an error
- Try right-clicking the installer and selecting “Run as administrator”.
- Temporarily disable your antivirus software during installation, then re-enable it afterward.
The screen appears black or blank on launch
- This is usually a GPU driver issue. Update your drivers and try again.
- If you have both integrated and dedicated graphics, make sure VRoid Studio is set to use the dedicated GPU in your graphics settings.
The interface is in Japanese
- This is normal on first launch for some users. Follow these steps to change the language to English.
Click the menu icon (⋮) in the top-right corner of the screen and select Settings.
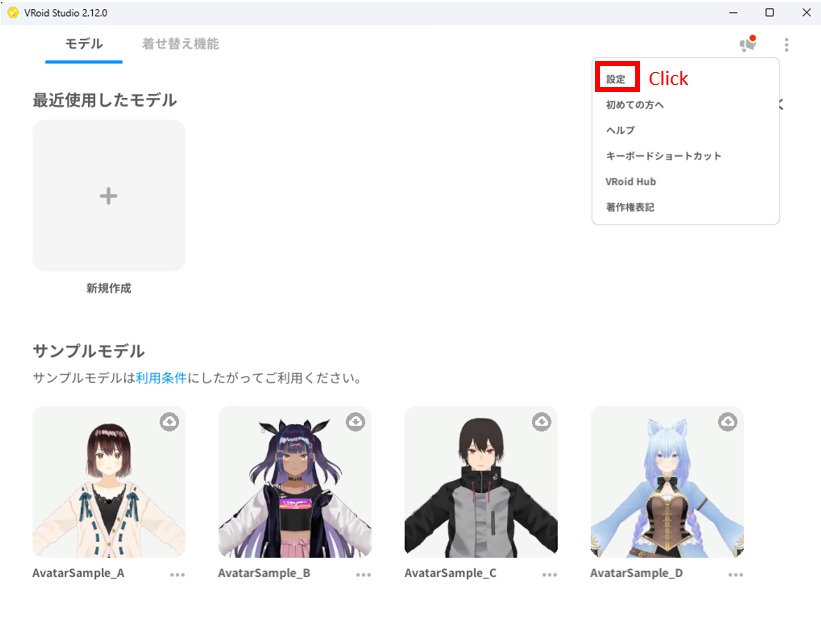
Click the three-dot menu icon in the top right, then select “Settings”.
In the Settings window, find the Language section and select English. The interface will switch to English immediately.
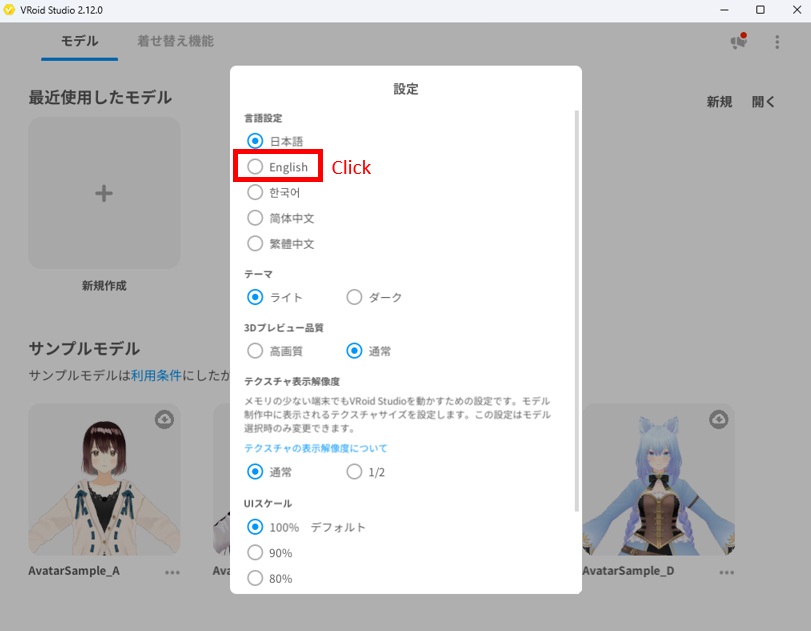
Select “English” in the Language settings to switch the interface language.
What’s Next?
Now that VRoid Studio is installed and running, you’re ready to start creating! Here are the recommended next steps:
- [How to Navigate the VRoid Studio Interface] — Learn what each panel and button does
- [How to Create Your First Avatar in 30 Minutes] — A beginner-friendly walkthrough using presets
- [How to Export Your VRoid Model as a VRM File] — Get your avatar ready to use in other apps
Final Thoughts
Installing VRoid Studio is straightforward — the installer handles everything, and the setup process takes under 5 minutes. The most common issue new users run into is GPU compatibility, so if you hit any problems, updating your graphics drivers should be your first step.
If you found this guide helpful, feel free to bookmark it or share it with a friend who’s getting started with VRoid Studio. Good luck with your avatar creation!